

Over the past few months, my fondness for collage masterboards has grown substantially. Each masterboard is different, simply by nature. Plus, making masterboards is a fairly mindless project–perfect when you’re tired or watching television, but still want to do something crafty.

So far, I’ve created journals using masterboards (I have a few left for sale on Etsy), as well as some journaling cards from on 12×12 masterboard. Take a closer look at my masterboard playlist on YouTube.
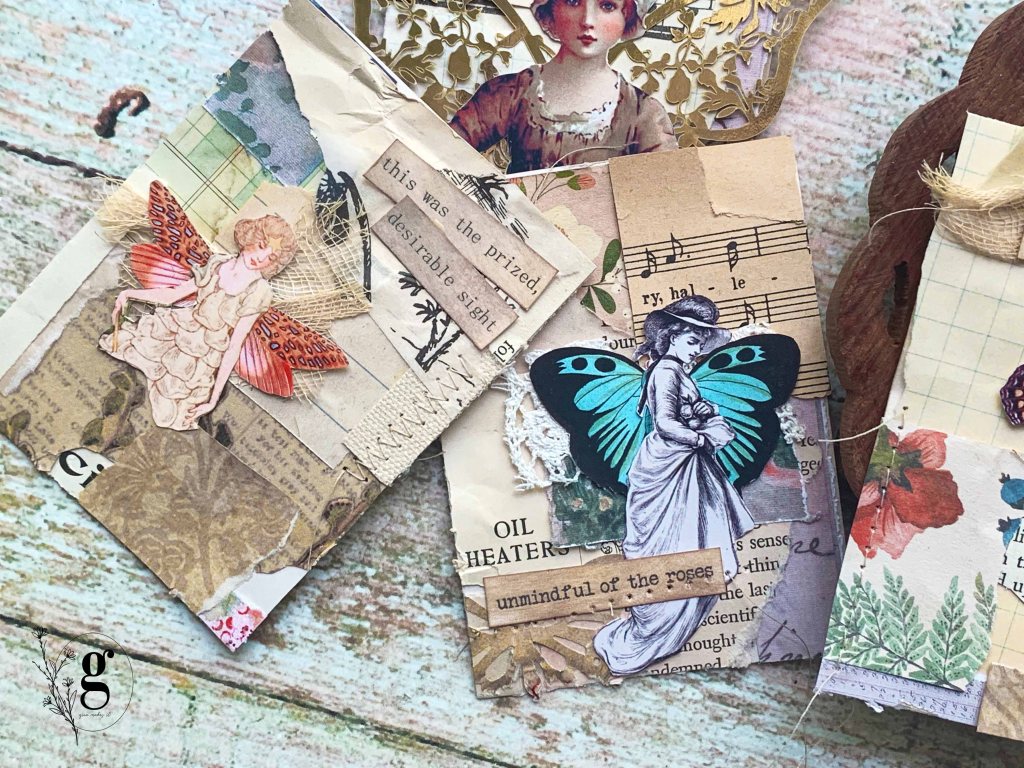

My latest masterboard obsession is transforming masterboards into unique shapes. A few days ago, I uploaded a new video demonstrating how I created autumn leaves from a masterboard. The leaves are so versatile and can be used on so many different projects.
Since most of the scraps I used were vintage or vintage-inspired, I thought offering the masterboard I used in this video as a free download for Free Vintage Friday would be a nice change. This masterboard can be used to create your own journals, leaves, or journaling cards, or they could be used to as part of a journal signature. To download the high resolution image, simply click the button below and right-click to save to your device.
Till next time,


Enjoyed your video on the construction of your master board and the cute little ATG cards. I had found making collages tedious and frustrating when they edges wouldn’t stick down. All those little pieces would flap up. I have found two methods which seem to give pretty good results. One is thinning a white glue down to a fairly watery consistency and painting it on in layers so when you lay a piece down it is stuck. I would start with a piece of freezer paper, shiny side up. Then a layer of wrapping or other thin paper. This layer will peel completely off the freezer paper after it is all dried. This method is excellent for thin papers and when you have time to work. You glue items in different places so they don’t overlap for that layer, spread the glue and then glue the next few items down. I also added sprinkles of glitter and sequins as I worked along. The final result is a quite stiff and fairly sturdy board which holds up quite well to cutting.
The second method is sort of a throw back to kindergarten. Instead of dabbing the glue from a stick or bottle I made a glue sponge. There are a lot of videos and tutorials on making these but its plastic tub (a sandwich size container works well) placing a new kitchen sponge in the dish, filling it with glue and allowing the sponge to soak it up. Keeping it covered keeps the glue sponge moist and it will last for years. By simply laying the image on the sponge, back side down of course, and making sure it gets a coating of glue your image will stick down completely. Covering the board with some cling wrap and by using a brayer before the glue is all dried will smooth down the edges of your images as well.
Loved the little wings behind the ladies. I can’t wait to try that. Thank you for the lovely verses!
So many fun ideas for using these completed boards! Thank you and cheers! 🙂
LikeLike